On the way from Niue to Tonga I managed to backwind the leach of the main briefly and a nine foot seam on the main separated. After a bit of a battle we managed to furl the main back into boom and carried on under genoa (or staysail when we hove to for a few hours). We contemplated bending on the trysail but as we were downwind most of the way to Tonga we did not bother.
 |
| Benjamin helping with the repairs once we were at anchor. |
9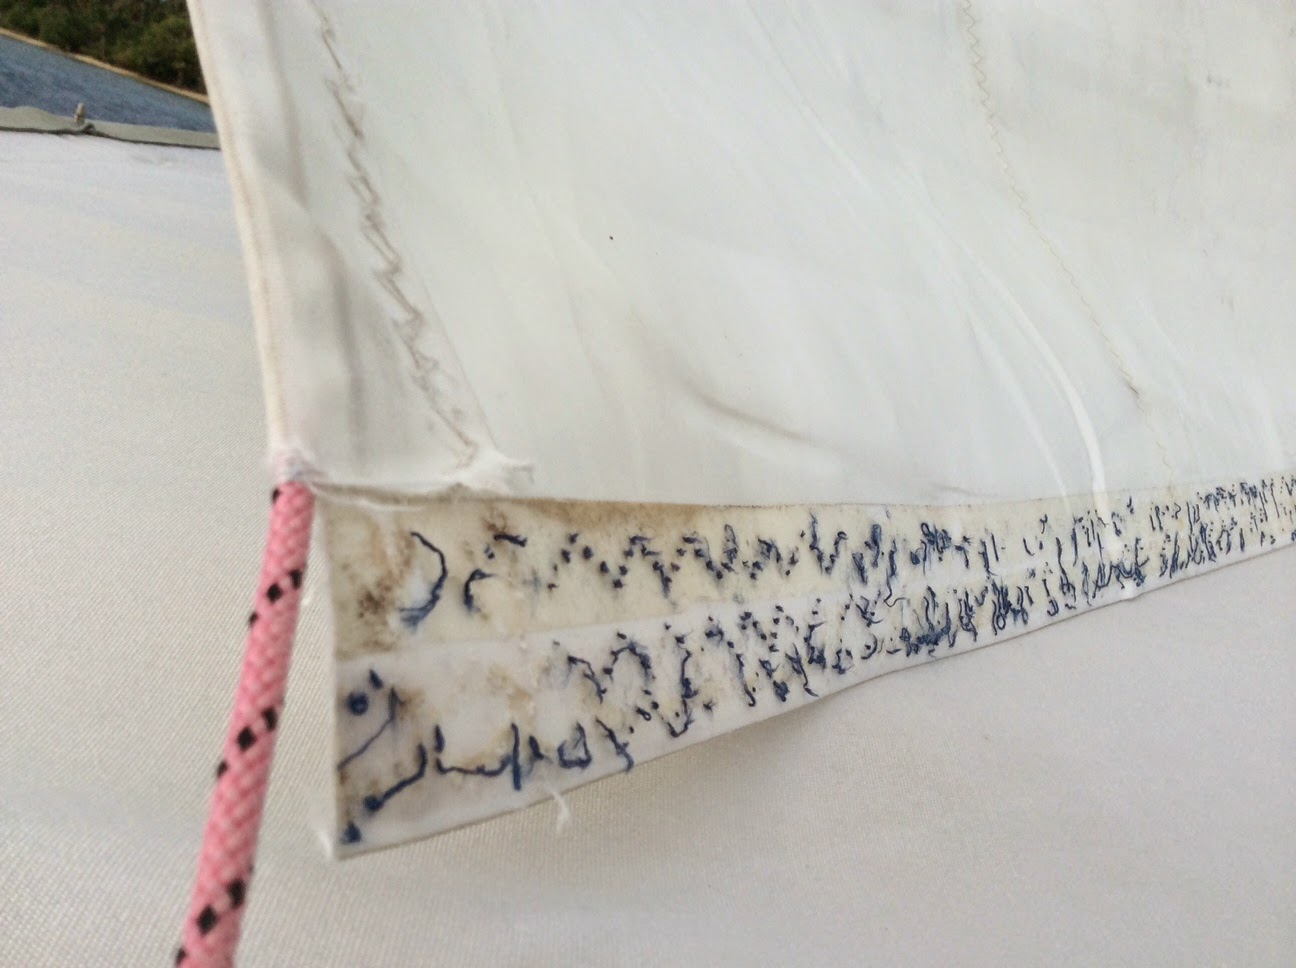 |
| The Seam in Question (SIQ) |
 |
| Our friend Doug, who is doing the Tonga to NZ leg with us, helping get the main off the boom. |
 |
| The likely culprit - the bent flange is what we think caught the thread on the seam. |
Unfortunately Nuku'alofa is not a hot bed of cruising and there is no sailmaker here. So ... Jamie on SV Totem to the rescue via email (Not only do they have a great blog, Behan's writings are published on Sail magazine's SailFeed) ... Despite being in the middle of a hectic yard period himself in Thailand with his Stevens 47 and family of five he provided detailed repair instructions. Jamie is a sailmaker with experience with everything from the top end of racing to our more mundane cruising requirements.
Jamie's instructions were as follows (reprinted by permission from Totem):
Preview
Sew if sewing by hand it's difficult to get enough threads per inch passing through the sailcloth. With 3 rows of triple stitch, you have something like 25 to 35 points per inch passing through the sail. So you'll need to do get the seam back together, and then reinforce the overall seam strength.
Setup
1. You'll need a flat space to work on. Ideally space is a bit more than split length and minimally 3' to 4' wide. If doing this on deck, you'll get by, but it's tight.
2. Cut across the leech tape a couple inches above or below where the split is.
3. Curved seams are made by taping a straight edge to a drawn curved line. Usually the lower edge of the upper panel is straight and the upper edge of the lower panel has the curve.
4. Being that it’s easier to work from the straight edge, and assuming that is on the upper panel, setup the sail so that the upper panel makes a flat area (as in 2 dimensional flat, no shape) for the length of the split and 12” to 18” wide.
You’re in it now!
1. Hopefully the split edge is close to straight, while the cloth remains flat. If yes then use a straight edge or string as reference to make that edge straight. Use sail repair tape the tape the edge down. If not repeat this with the opposite panel, as maybe it is the strait edge.
2. Once you have a strait, flat panel edge, measure the width of the seam, where it is still together.
3. Every few feet along the seam, make a tick mark that is the measured seam width. When done use a straight edge or string to draw a straight line that marks the seam width.
4. Started at the luff end of the split, hold roughly 12” inch sections of the panel from the other side of the split to the drawn line. Careful not to over tension cloth as you don’t want to mess up the flat panel. At the 12” increments, make a tick mark that crosses both panels. Then make note of when you reach the leech if the 2 panels line up or not.
5. If the leech edge line up you have done prep well. If not, give the sail to the locals to use as a tarp
6. Just kidding.
7. If not lined up, the note if runs past or is short and have another go with the tick marks (use a different color) adjusting slightly one way or the other.
8. Phew – it lines up so you still have a sail
Reattachment
1. Sticking the thing back together isn’t hard, but making sure it doesn’t come apart before sewn is the challenge. This is a really important step – if it comes apart mid seam… well it’s gets trickier or you start over.
2. So, do a trial with double sided tape (sticky on both sides) or super glue to see what work best. It may help to use acetone to clean the seams first.
3. If super glue is best, when you apply only do a length that you can hold down without it moving until it cure. Oh, and super glue cures with warm moist air, so if you have a heavy breather onboard put them to work breathing a cure into the glue
4. Okay, time to stick it back together, start again at the forward end of the split.
5. Oh, and don’t worry much if the leech edges aren’t perfect – close is ok.
Tedium
1. At this point you really have a nice tarp, that the locals would love.
2. Probably the safest option is to handsew a straight stich down the middle of the seem to be sure it stay together. Have one person on either side of the sail to go faster. The stitches don’t need to be to close together as you get bonus point for being timely so you enjoy where you are.
3. As mentioned, handsewing will take forever to get enough stitches so this is when you bust out Dacron and 3m 4000 fast cure. It’s band-aid time.
Boo boos need band-aids
1. It would be nice to know what Dacron you have: similar weight to sail, warp or fill oriented, etc. But shirt of that we’ll assume it fill oriented.
2. We want to make 12” (or even 15”) wide Dacron strips. If the Dacron is very much lighter than the sail weight then we may have to make 2 sets of band-aids – let me know. So if fill cloth, measure 12” up from the Dacron roll edge for a 5’ length. Cut on the line so you have a 12” wide x 5’ long panel. Then repeat so you have 2 band aids – enough for the length of the tear.
3. Make a tick mark at each panel end, mid width (6”). Then place the band-aid on the sail, at the leech, so that the tick marks line up on the edge of the seam (so 6” of band-aid are on either side of the seam). Mark and trim leech edge of band aid to match the sail edge.
4. Make sure that the sail and band-aid surfaces that will be bonded together are clean – acetone if you have it.
5. With 4000 fast cure, you want as much bonding as possible so you have to gauge how much you have so you don’t run out before you reach the end.
6. Run one bead of 400 about ¾” of an inch in from outside edges.
7. Run as many bead running across the width of the band-aids as you can. Use a sine wave pattern, with 1-1/2” to 2” gaps between each wave. If you have plenty of goo, make smiley faces J.
8. Stick down the first band aid. It’s help if you have a piece of wood or something flat to put on top and with some weight so the goo spread. Do this with the 2nd band, so they’ve spanned the entire length of the split.
9. Now go have a beer. Don’t touch until nicely cured.
10. If bonded well, the 4000 is way stronger in shear than any amount of hand-sewing you can do – and it’s flexible.
Palm and needle time
1. This may be a good time to put Master and Commander on.
2. Straight stitch isn’t as strong as zig-zag. A straight stitch near the edge of the band-aid is okay, because it’ll prevent the band-aid from getting peeled off by line.
3. The band-aid effectively makes the seam 12” wide so you have plenty of area.
4. Draw lines on the band-aid marking wear the original seam is.
5. I’d hand-sew a row on the original seam, so about ¾” wide – make it modified zig-zag so there is 2 hops in each zig and zag.
6. On the band-aid, I’d do 2 more rows on either side of the seam (so 3” apart) for about 3 to 4” nearest the leech. Then from that point, you can drop it to 1 row per side of the side for the remaining length.
7. For finishing the leech tape, hand-sew it back in place. Then cut a piece of Dacron that is twice the leech tape width and 12” long. Fold in half along the width and place over the leech at the band-aid. Hand-sew in place.
A few tricks for hand-sewing
1. Draw a line for strait stich or zig-zag shape that you want to sew. It’s faster following a line.
2. If material is hard to go through, use a drill with very small bit, and drill a hole at each needle hole point. Don’t drill through the deck!
3. One person on each side of sail goes faster.
4. Use the smallest size needle that you can, but if bending/breaking it then it’s to small. The point is to keep the needle holes relatively small.
5. Thread – not sure what you have. V92 or V138 would be good. If lighter weigh use double strands.
6. Once you reach the end of a hand-sewn seam, and if you haven’t gone insane yet, hand-sew your way back again.
Oh ... that doesn't look to hard ... Of course trying to do this onboard would be really unpleasant. Big Mama offered the use of the bar floor at the yacht club but this was going to be a multiday endeavour. So in the end we rented on the Big Mama's Fales (small very rustic cabins) and turned it into the Nuku'alofa Sail Loft (sorry if you googled this looking for a real sail loft in Nuku'alofa).
 |
| Nuku'alofa Sail Loft |
This was going to take a very long time with the tools we had ... so Tim from SV Exodus to the rescue ... He leant us his two Speedy Stitchers and miles of good thread. Not only that but he helped Liz with many hours of patient stitching. Victoria acted as a bobbin under the sail for several days to speed the process. She was only stabbed a few times. Having Doug here made this all feasible as he kept for Benjamin for hours and hours so I could help Liz or work on other projects on the boat. Doug also helped with many hours of sewing.
 |
| Tim and Liz working in the sweat shop. |
 |
| Victoria helping measure the seam. |
 |
| Note the beer bottle are to hold the mosquito coils ! |
 |
| Doug working on his technique. |

 |
| The Speedy Stitcher x 2 ! (Thanks Tim !!) |
 |
 |
| Adding the sacrificial patches to cover the chafe damage |
 | ||||
The nearly completed repair.
|


 |
| Done ! |
 |
| The repaired sail put back on Fluenta |
No comments:
Post a Comment
Comments ? (Note all comments are moderated)